Using this feature, changes can be made to paddock names and areas to reflect changes in farm layout or to exclude paddocks that are in seasonal crops, for example.
The Fields Area menu displays paddocks in order of increasing mapped area, with your smallest paddocks listed first.
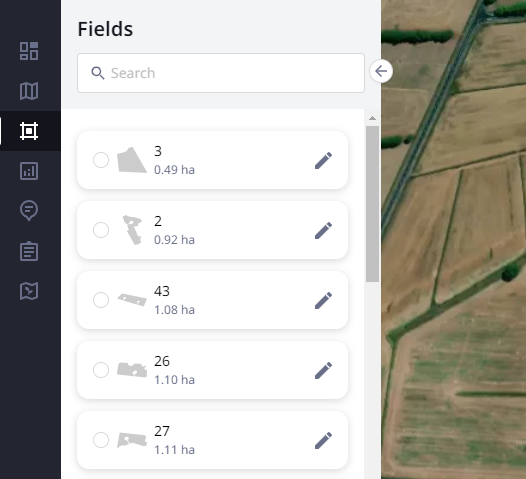
To view a particular paddock, simply click the paddock tile to navigate directly to it.
You may notice that the mapped area in Cropwise Imagery is smaller than the true paddock area. This is because the SPACE™ service maps away from non-pasture-based objects, including troughs and fence lines, as well as trees and hedges, as these can impact the measure of pasture cover.
Enabling Editing Rights
To edit paddock boundaries and names, you will first need to gain access to this feature by requesting this directly from the SPACE™ Support Team (contact 0800 772 234 or [email protected]) . Access is for a set period of up to 48 hours. The changes made to your farm will be reflected in the next available satellite report. Any changes made within Cropwise Imagery will not automatically reflect within MINDA® Land and Feed, which will require similar changes to be made.
Editing Paddock Name and Boundaries
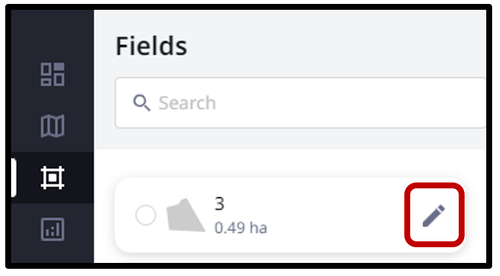
To edit a paddock name or to adjust a boundary, select the edit button. A warning message may appear notifying you that editing a paddock boundary can impact the availability of Planet imagery. Select ‘Confirm’ to proceed with edits to paddock characteristics.
At the end of your 48-hour access period, the SPACE™ Support Team will ensure the availability of Planet-sourced satellite images is maintained for your farm.
Note that changes in total mapped area may result in a change to your monthly subscription charge.
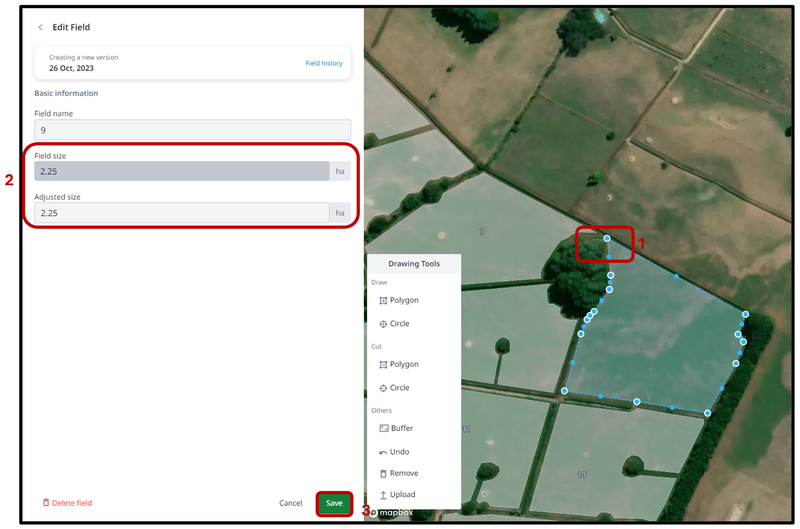
- Changes to paddock boundaries can be made by adjusting the blue boundary markers to reflect the new layout.
- The current and amended paddock sizes will be shown in the panel on the left.
- Once edits have been completed, select the ‘Save’ button. Paddock History
Editing Paddock Name and Boundaries
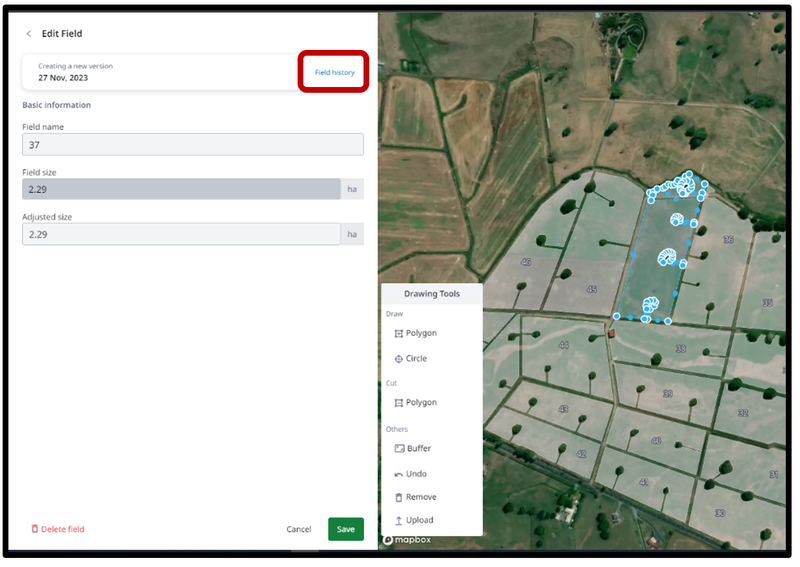
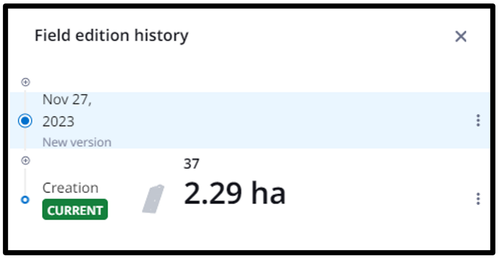
If you have saved changes to your farm map and wish to revert to a previous version of your paddock, simply click ‘Field history’. This will display the previous edits made to your paddock, which you can select for application.
Enabling Edit Rights
Similar to editing existing paddock names and boundaries, you will need to contact the SPACE™ Support Team (on 0800 772 234 or [email protected]) to grant you with edit rights to create new paddocks in Cropwise Imagery.
Adding a Paddock
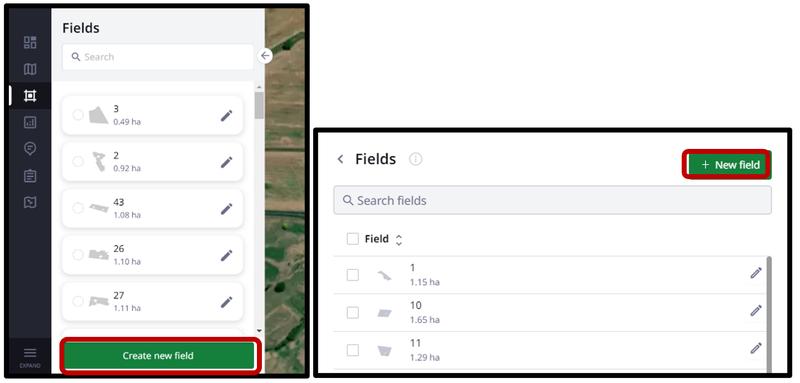
To create a new paddock, select 'Create new field’, which can be found at the bottom on the Fields Area menu, then select ‘+ New field’.
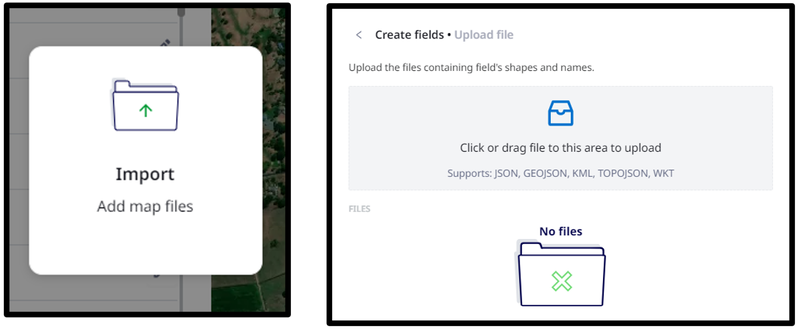
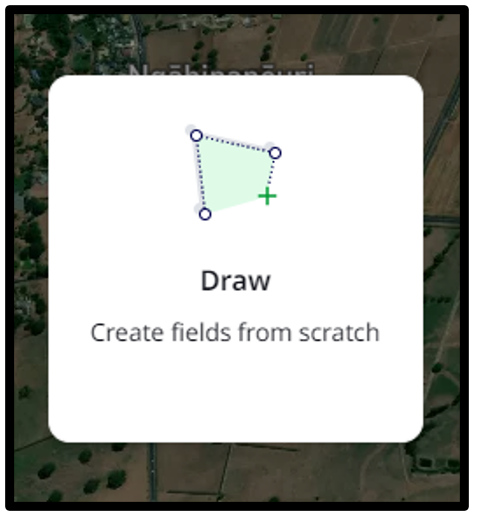
Create the new paddock by using the Import or Draw functions. The option to Detect and Insert Size are currently unavailable.
- Import to upload a boundary file for a new paddock or paddocks. Select within the ‘Click or drag file to this area to upload’ button. Search for and select the desired shapefiles, and then select Open.
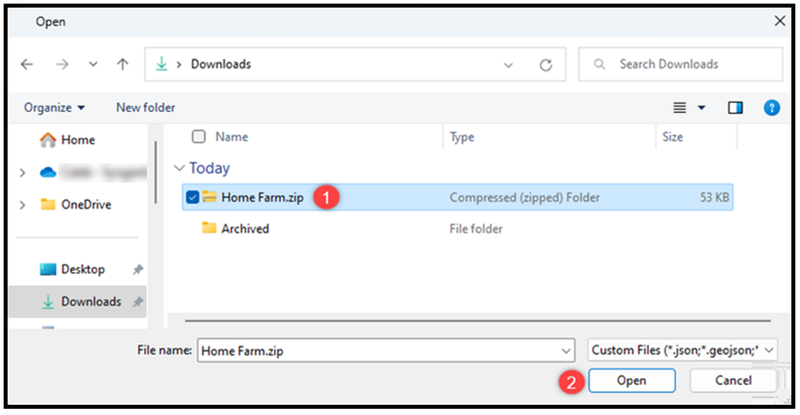
Note: Shapefiles have individual .shp, .shx and .dbf files that need to be extracted from within the same zipped folder. If you do not have shapefiles of your farm map, utilise 2. Draw as an alternative approach to creating a new paddock.
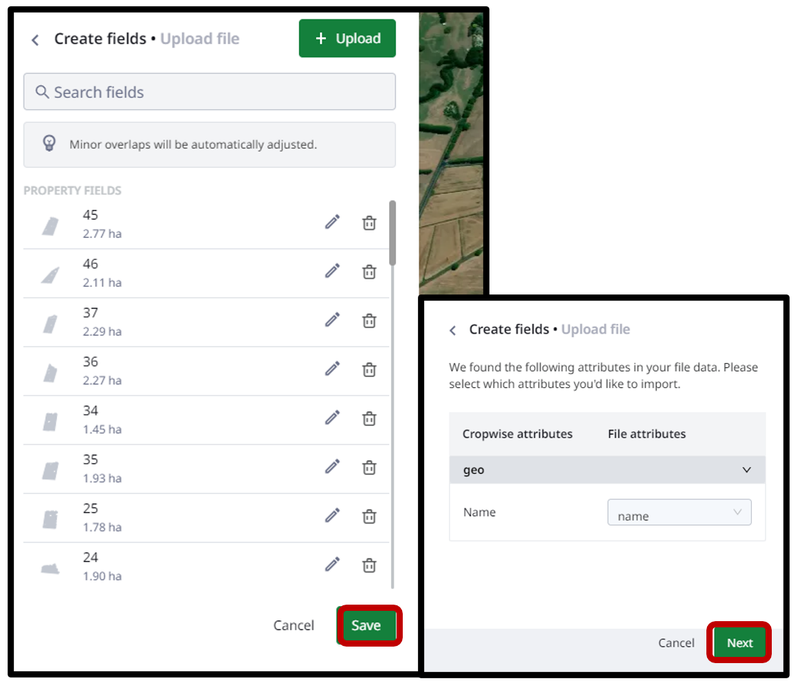
The File Attributes menu allows you to set the paddock name for the boundaries that are being imported. Select ‘Name’ or ‘Field Name’ from the Name dropdown box, then select ‘Next’. The paddock(s) will display within the map and are available for any necessary edits. Complete the upload process by selecting ‘Save’.
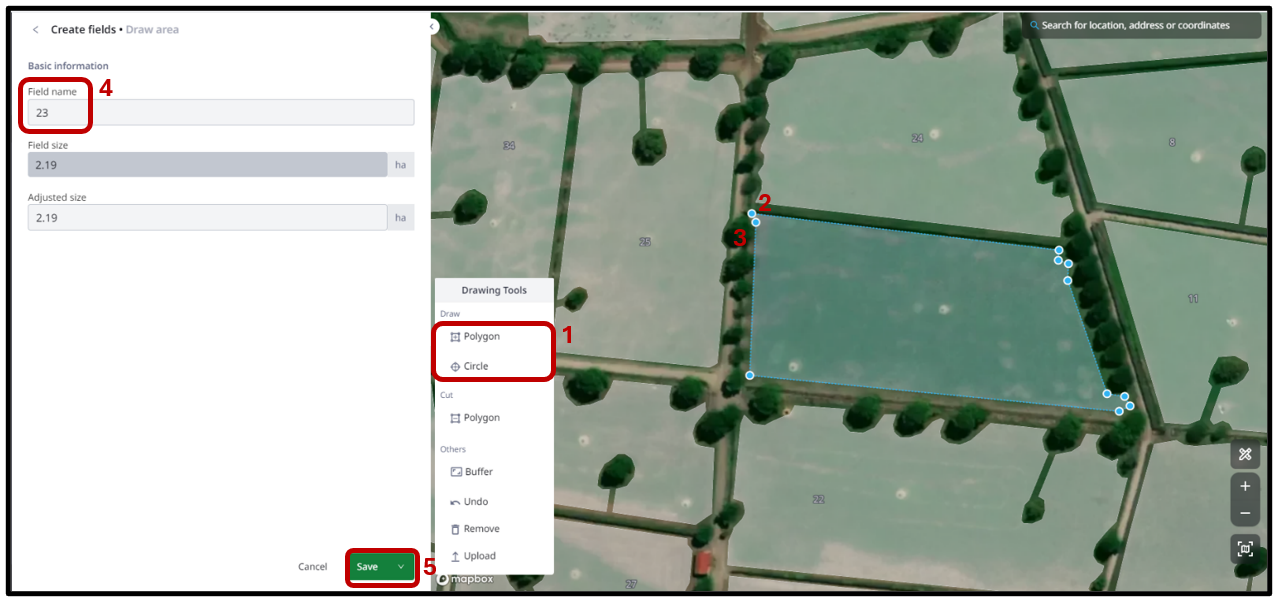
- Draw a new paddock boundary by clicking within the map to identify boundary points along the border of the paddock.
- Choose the preferred map tool for drawing the paddock boundary points.
- Select the first boundary point to start marking out the paddock area, and then successively click your mouse to add vertices to the perimeter of your new mapped paddock.
- Once the paddock boundary has been marked out, double-click your mouse to close the shape.
- Next, label the paddock under ‘Field name’.
- Then, either select ‘Save’ or click the arrow beside the save button to save and draw another.